
Baking Soda and Vinegar for Oven Cleaning in Under 30 Minutes
Key Takeaways
- Remove loose crumbs before applying any cleaning solution
- Baking soda helps loosen grease and baked-on food
- Vinegar can help remove residue after cleaning
- Do not mix large amounts of baking soda and vinegar beforehand
- Always check your oven manufacturer’s cleaning instructions
- Avoid getting moisture into heating elements or electrical parts
- Use a non-scratch sponge on suitable oven surfaces
- Allow extra time for heavy, burnt-on grease
A poorly maintained oven can be one of the most challenging areas to clean in your kitchen. Regular cooking leads to grease buildup, baked-on food residue, and stubborn stains from spills and burnt food. However, you can tackle light to moderate dirt using common household ingredients instead of relying on harsh cleaning products. Oven cleaner with baking soda and vinegar can help loosen grease and grime when used correctly. This simple method uses everyday household items and can be useful during routine kitchen cleaning or when preparing a rental property for inspection. If you need professional assistance, Bond Cleaning Toowoomba services can help ensure your oven and kitchen are ready for the final rental inspection. In this blog, we will explore oven cleaning techniques, the equipment you need, essential safety precautions, and common mistakes to avoid.
Gather Your Cleaning Supplies
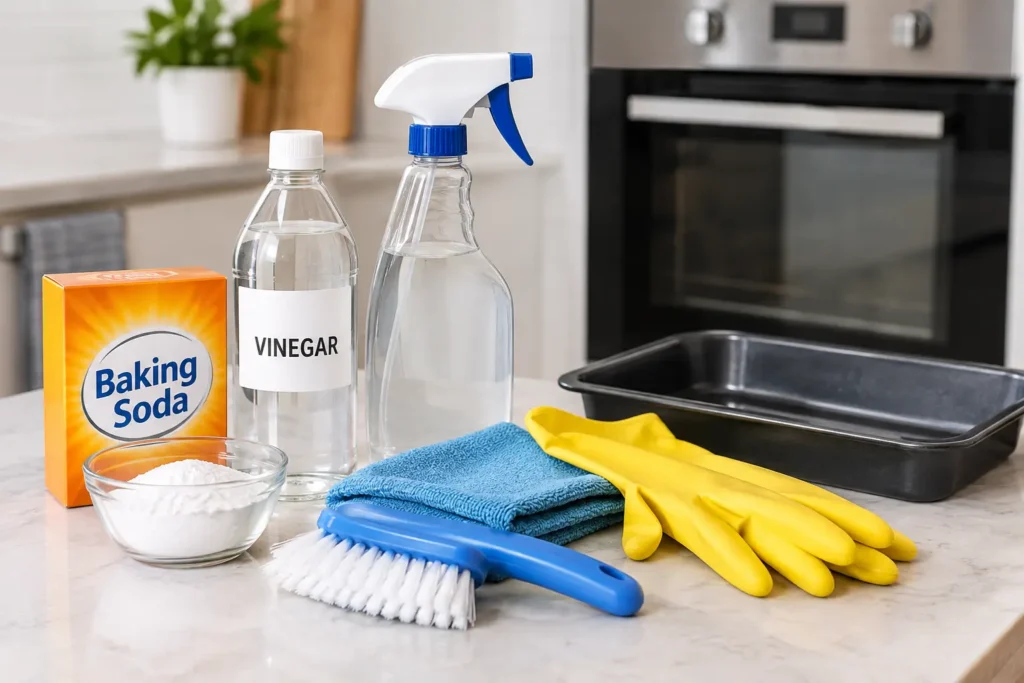
Firstly, collect all the tools that you will use. This will save you time and help you to have an uninterrupted cleaning session. You’ll need a combination of baking soda and white vinegar, hot water, a sprayer and a gentle sponge. Keeping a microfibre cloth available is a good idea just in case you want to wash the oven without water. For example, you could also get good use out of an old toothbrush when it comes to cleaning the corners and edges. Before proceeding to the deep clean, it is a great idea to read your oven’s instruction manual carefully, in particular if it is self-clean or has a special coating. This will help you know that you are not damaging the machine in some way.
| Item | Main purpose |
| Baking soda | Loosens grease and food residue |
| White vinegar | Helps remove residue |
| Warm water | Dilutes and activates cleaning mixture |
| Soft sponge | Wipes loosened grime |
| Microfibre cloth | Final surface wipe |
| Old toothbrush | Cleans corners and edges |
| Rubber gloves | Protects your hands |
Prepare The Oven First
The most important thing about cleaning your oven is to be safe first. If possible, wait a little for the oven to cool down after switching it off before starting cleaning. The last thing you want to do is to spray the inside of a warm oven with a liquid cleaner. Take out the racks and any other loose trays before cleaning. Tear off any bits and pieces of food stuck there using the dry cloth or the soft bristle brush. To wipe the grimy oven baskets, you can put them in a pot filled with warm detergent water. You must check and adhere to the instructions given by the manufacturers if you think of using your own solution for cleaning your oven.
Make The Baking Soda Paste
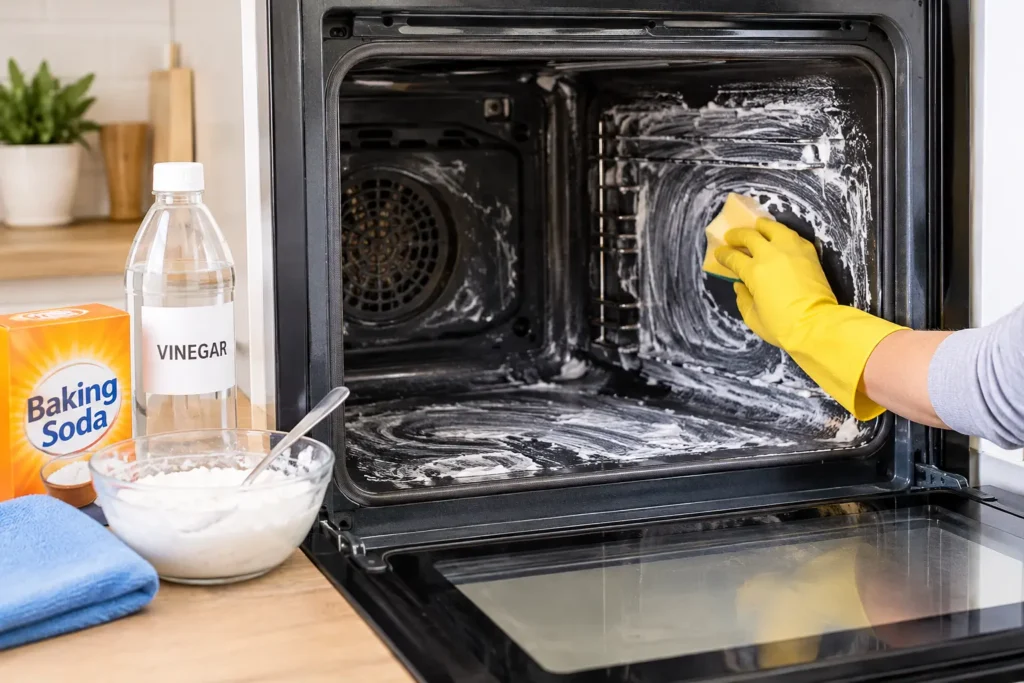
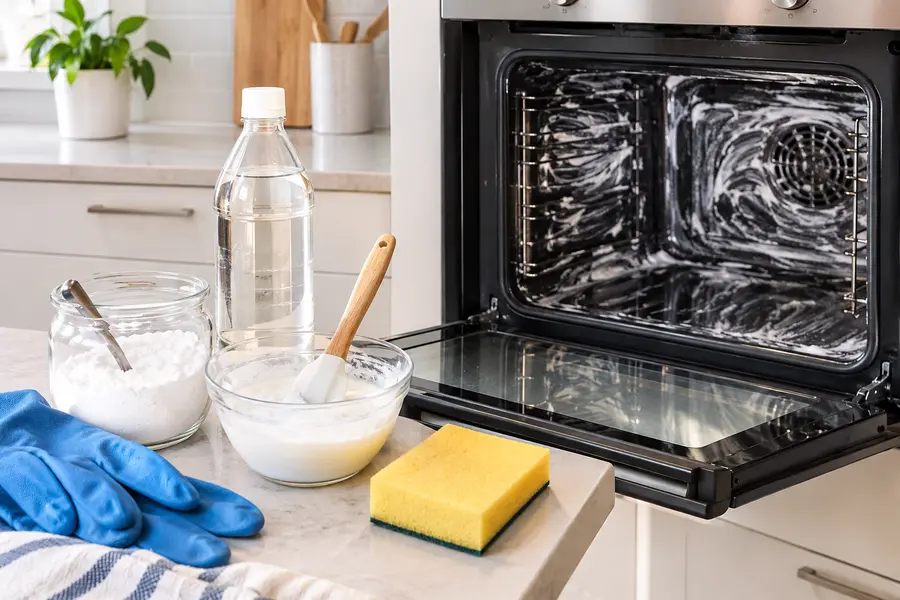
Baking soda works well for loosening dirt and removing stuck-on food. Make a paste by mixing baking soda with a little hot water in a bowl. Gradually add more water until you achieve a thick consistency that spreads easily over the oven surface. For households in Toowoomba, this simple method can help tackle everyday oven grime. Avoid making the mixture too runny, as a thicker paste stays on dirty areas longer. Mixing baking soda and vinegar together immediately causes fizzing, which can reduce their individual cleaning effectiveness. Instead, apply the baking soda paste first and allow it time to loosen the grease. Then use vinegar separately to help remove the remaining residue.
Use Vinegar To Remove Residue
After the baking soda mix is smeared on a surface, keep it there for some minutes. 10 – 15 minutes will be good enough if the area is moderately or lightly dirty. Heavier grease might require a longer time. Soon after spraying the spots treated with baking soda, the reaction between the two will produce a harmless, foaming solution. Apart from that, this process will also help in softening the remaining stains so they will eventually fall off or will be easily away. Finally, a clean microfibre cloth can do the polishing. If there’s still a greasy film after wiping, repeat the process of wiping. A clean, dry cloth can be used to remove any excess moisture from appropriate surfaces.
Clean Racks And Oven Glass
Oven racks become coated with grease, bits of food and dark stains. Before cleaning the main oven cavity remove them. You can either put the racks into the sink or a basin. Let them soak with some warm soapy water. During that time, you should go on and start cleaning the oven. In that case, you may consider using a mild sponge and a suitable detergent. Wipe gently across the glass. Bring your corners with grease to our attention. You should check with the manufacturer before cleaning between glass panels. Specific removal procedures are required for certain oven doors. Do not press the door apart if the construction does not permit it.
| Oven area | Cleaning approach | Avoid |
| Oven floor | Baking soda paste and wiping | Metal scourers |
| Side walls | Soft sponge and paste | Excess water |
| Oven glass | Gentle wiping | Abrasive pads |
| Racks | Warm soapy water | Harsh scraping |
| Door seals | Damp cloth | Strong chemicals |
| Heating elements | Dry or approved method | Spraying liquids |
Finish Within Thirty Minutes
For a quick oven clean, you need a simple routine. The first five minutes should be spent removing racks, crumbs and any other loose debris. For the next five minutes, you can spread your baking soda paste. Let it sit while you clean something else. In order to remove what’s left, try a small bowl of vinegar next. In this way, you can take the dirt out very efficiently but leave the rest to be dealt with later. Never think that doing work quicker will be good for safety. If you do not feel you know which surface to do first you look at the oven’s instruction book and find the right section to refer to.
Avoid Common Cleaning Mistakes
Several errors will make cleaning the oven more difficult. The first is that they use too much water. You don’t have to soak an oven how to take a sponge to get rid of its daily dirt. Another typical problem is allowing the baking soda residue to remain. A white residue may still be visible after the cleaning is done. The reason why you should consider that these areas are sensitive and because of this should be cleaned in a particular manner if there is one of these ovens to the house. Even self-cleaning ovens can need to be prepared differently. Do not use homemade compounds on any surfaces, including those that should not be used, according to the manufacturer. Always refer to the care instructions for your appliance.
When DIY Cleaning Is Not Enough
Baking soda and vinegar work well for keeping your oven clean on a regular basis. They may be insufficient for encrusted carbon deposits or aged grease accumulations. Burnt food can be made rock hard by being reapplied heat. Here too, multiple cleanings may be involved. You may also need to use a commercial oven cleaner. Always select a product that is suitable for the type of surface that you have on your oven. Expert oven cleaning is handy to have pre rental inspection or property handover. If you’re renting make sure you read your tenancy agreement before you book specialist cleaning. Oven clean at the end is usually easier than baking the buildup through the tenancy.
Keep Your Oven Cleaner Longer
By taking care of your oven on a regular basis you will not have to endure the agony of really tough cleaning. When the oven has cooled down completely you can get started with the cleaning of any spilled food. Also remove any crumbs or grease left around after a cook. You will probably find it best to put some of the suitable trays in your oven beforehand so that they can trap any drips and spills of food or drinks. Good ventilation will make removing cooking smells that still remain much easier, etc. They are especially useful for tenants in bringing a property up to final inspection. A clean oven helps the whole kitchen look better.
Final Thoughts On Oven Cleaning
A great all-purpose approach for light to moderate oven dirt is using baking soda and vinegar for oven cleaning. However, their cleaning power may be reduced when mixed together, so applying them separately is often more effective. If you’re maintaining your kitchen, you can usually clean a lightly soiled oven in around half an hour. A heavily soiled oven may require more time or professional attention. Regular cleaning helps prevent grease from building up, and wiping away spills soon after cooking can save time later. Just as oven care helps maintain your kitchen, avoiding common cleaning errors elsewhere is important. Read 12 vinyl floor cleaning mistakes that can ruin your flooring to learn how to protect your floors from damage.
Frequently Asked Questions
1. Can baking soda clean a dirty oven?
Yes, baking soda can help loosen grease and food residue from suitable oven surfaces.
2. Can I mix baking soda and vinegar?
They react quickly when mixed. Using baking soda first and vinegar later can be more practical.
3. Can I clean an oven in 30 minutes?
Yes, light or moderate grime can often be cleaned within 30 minutes. Heavy buildup needs longer.
4. Is vinegar safe for every oven?
Not necessarily. Check your manufacturer’s cleaning instructions before using vinegar or other homemade solutions.
Related Posts
Easy Methods to Prevent Stains on Your Faucet Head
Have you ever showered and found that the water is not flowing even or stains…

Strata Common Area Cleaning Rules for Tenants
Benefits of living in a strata include shared facilities, maintained landscapes and a community atmosphere. But the…

The Best Way to Clean Window Tracks and Venetian Blinds
Best Way to Clean Window Tracks & Blinds Like a Pro Have you ever looked…