Easy Methods to Prevent Stains on Your Faucet Head
Have you ever showered and found that the water is not flowing even or stains of white appear at the faucet head? It might be a minor detail, still, your faucet head contributes significantly to the issue of hygiene and water efficiency at home. With time, the mineral deposits, soap residue, and grime accumulate around the aerator, resulting in stains and limiting water pressure. The positive thing is that it is an easy, cheap, and highly effective method to clean the head of your faucet and avoid all possible long-term damage.
It is possible to maintain a faucet gleaming in its proper working condition with proper care and the proper technique. We are going to take you through a step-by-step tutorial of how you can avoid stains and have a clean and shiny appearance in the kitchen or bathroom.
Why do Faucet Heads get Stains?
Stains on the faucet are normally caused by minerals present in the hard water, such as calcium and magnesium. The evaporating water is left behind in white or chalky deposits commonly referred to as limescale. Toilet splashes and soap deposits in the bathroom may also cause discoloration. Grease and food can also mix with spots of water producing tenacious stains in the kitchen. These stains may become too difficult to remove, hardened and hard to remove. expert cleaning allows water to be maintained in a consistent flow, and prevent buildup.
Step 1: Check the Faucet Head
Begin by investigating your faucet head. Search for the presence of visible mineral deposits, water spots or clogged spray holes. Turn the tap and watch the water run. In the event of a spray water that appears unequally or is at an awkward angle, it is probably that aerator holes are partly covered. Determining the problem aids in deciding on whether it ought to be a superficial surface clean or a more in-depth descaling process.
Step 2: Vinegar natural descaling
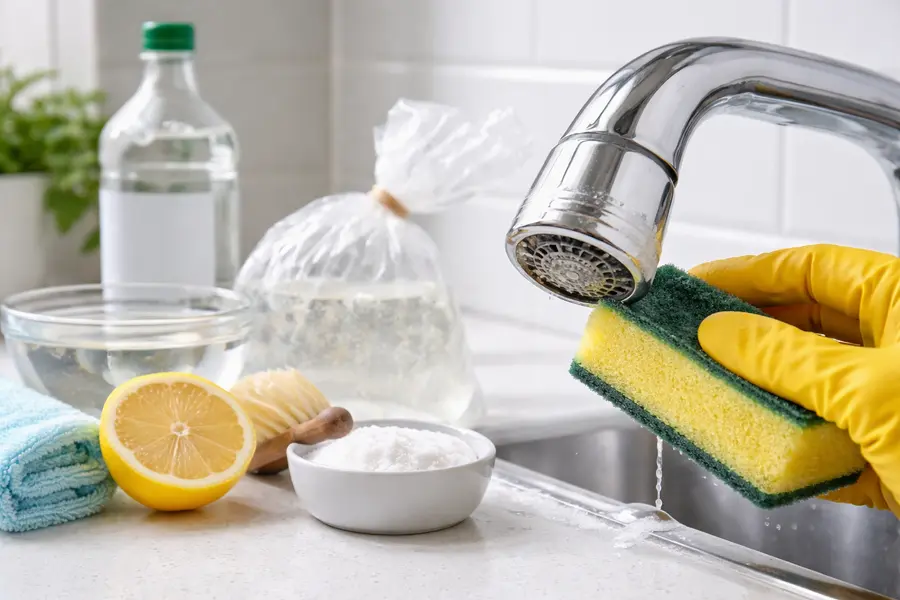
White vinegar is one of the best non-artificial cleaning agents to be used in the elimination of mineral deposits. Put a small plastic bag of vinegar that will be enough to cover the head of the faucet. The bag is to be carefully positioned over the faucet head and held in place by a rubber band.
Allow it to steep at least 30 minutes. In case of greater accumulation, it may be left several hours. The vinegar acid is used to dissolve limescale and loosen deposits which are difficult to remove but it does not damage the metal finish. Once it has been soaked, take out the bag then scrub the faucet head softly with a soft toothbrush. Wash under a lot of warm water.
Step 3: Clean the Aerator
In order to wipe-down more thoroughly, remove the aerator. Most faucets screw their heads off manually, although the fittings might have to be plied. Wrap the tools with a cloth in the fitting so that they do not get scratched. When it is removed, rinse the aerator in vinegar, wait 20 to 30 minutes. Massage gum and holes that are clogged with a little brush or toothpick. Wash and re-repaint it under a lot of water. The aerator is cleanable and therefore prevents the stains and the aerator also restores the normal pressure of the water.
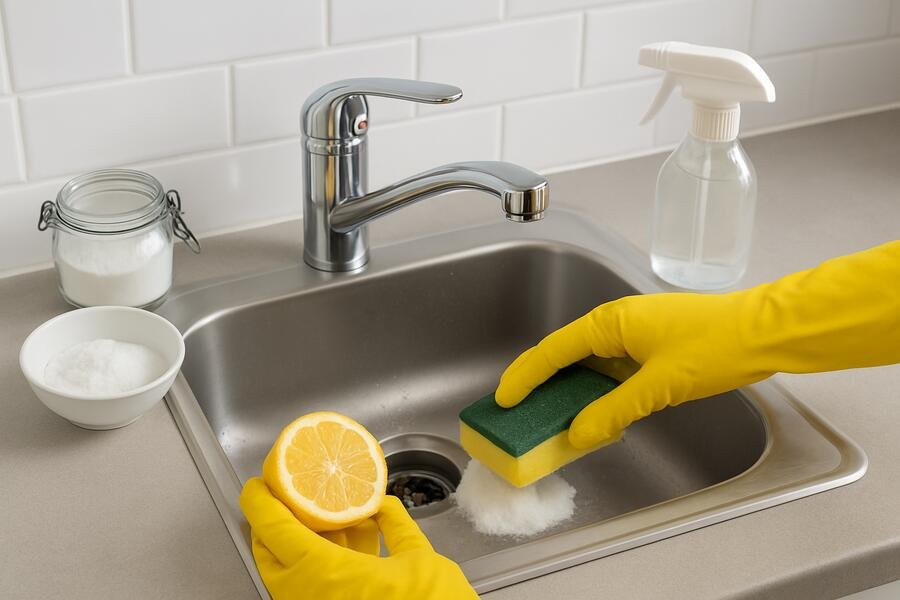
Step 4: Wash and Polish the surface
Descaling should be followed by wiping the faucet head with a soft microfiber in order to keep it dry. The process of drying is also significant as new water spots will not be experienced. It can also be washed using a surface with a small volume of washing water and rinsed using tap water to attain another shine. Do not apply dull chemicals or scrubbers with rough edges, which are likely to destroy chrome or tarnish finishes of stainless steel or brush-like finishes.
Step 5: Stop Future Stains
All the time, prevention is better than cure. These are mere rudimentary habits to reduce piling up:
- Wipe the head of the faucet after use, and particularly in hard water areas.
- Wash very sparingly after every one week to avoid excessive deposition of minerals.
- Use a water softener when the problem of hard water is a frequent occurrence.
- Do not leave the remains of toothpaste or soap on the faucet.
Regular cleaning will ensure that the stains do not get permanent and limit the vigorous scrubbing.
Step 6: Find Solutions to Hard Water
In case you often find chalky formations which are white and, nevertheless, you often clean your house, then you have hard water at home. A water softening or a water filtration system can be of much assistance in reducing the deposition of minerals not just on the faucets but also on the showerheads, tiles and appliances. Though this is a larger investment; it will help in increasing the lifespan of the plumbing fixtures and improve the overall plumbing water quality.
Usual Mistakes to Avoid
Most individuals will use chemical cleaners that are very strong believing that they will get better results in removing the stains. Nonetheless, severe acids and products based on bleach will wear down finishes and destroy internal parts. The cleaning solutions to use should always be soft unless the manufacturer suggests otherwise. The other error will be not paying attention to initial accumulation symptoms. Small water spots can be washed easily as compared to hardened limescale layers.
Conclusion
Although your faucet head is a small part of your home, you can see it has a huge difference in appearance and functionality. Regular cleaning and descaling of it ensures that you do not have such hard to remove stains, maintain good water flow, as well as extend the life of your fixture. It is not complicated, inexpensive and does not require a lot of labor- the impacts are instantly experienced. For personalized guidance, don’t hesitate to talk to our specialist and get expert tips for your faucet care.
Related Posts
6 Amazing Kitchen Cleaning Tricks That Really Do Work
Have you ever asked yourself the question of why your kitchen never seems as clean…

How to Remove Crayon Stains From The Walls
Do your kids play with crayons on the wall? You cannot in the least prevent…

Best ways to Keep Your Home Smelling Fresh Daily
How to Keep Your Home Smelling Fresh A house that smells good becomes a refuge,…